White tiles, a shiny mirror, neatly folded towels. Yet down there-in the thin lines between the tiles-the truth shows up fast: dark grout, yellowish stains, and stubborn shadows that never fully disappear. You wipe, you scrub, you exhale, and it still looks worn.
One evening, a friend stopped by, glanced at the floor, and said casually: “You know you can fix that in 15 minutes, right?” No expensive products, no steamer, no heavy gear-just three kitchen staples, a bowl, and a sponge. I laughed… and then I tried it.
Fifteen minutes later, the grout looked like it had been swapped out. Not showroom-perfect, but bright, clean, and almost new-the kind of difference you notice the moment you walk in.
Why dirty grout makes a clean home feel “off”
Those thin grey lines between tiles have a weird kind of influence. The rest of the bathroom can gleam, but if the grout is dark, your brain still reads the room as “not clean.” It’s subtle and almost subconscious-you may not say it out loud, but you feel it.
On a hectic weekday morning, the contrast hits hard. You step out of the shower feeling refreshed, and your feet land on a floor that looks… tired. The tiles are fine. The grout tells a different story. That mismatch quietly pulls comfort out of the room.
We live with small visual “noises” everywhere. Dirty grout is one of them. It doesn’t shout like a broken pipe or a cracked tile-it just murmurs “later,” until later turns into years.
A survey by a large cleaning brand found something telling: more than half of people judge a bathroom’s cleanliness by the grout first, not the tiles. Another result stood out too-many homeowners admit grout is the one thing they avoid because it feels slow, unpleasant, and never truly rewarding.
There’s also a simple reason this problem is so persistent. Grout is porous, almost like a sponge that has hardened into stone. It soaks up soap scum, body oils, dust, minerals from water, and tiny mold spores. Strong chemicals can attack the surface, but they don’t always pull out what’s embedded deeper in the pores.
A quick note on third‑party options (when you need extra help)
If you’ve tried DIY methods and the lines still look dull, some third-party solutions can help between deep cleans. A pH‑neutral grout cleaner from brands like Zep or HG can be a good middle ground-stronger than a quick wipe, but typically less harsh than heavy bleach routines when used as directed.
For ongoing prevention, you can also consider applying a grout sealer after cleaning. Products from companies like Aqua Mix or Miracle Sealants are commonly used to reduce how quickly grout absorbs new stains, especially in showers and high-traffic kitchen floors.
The 3‑ingredient mix that makes grout look new (baking soda + vinegar + dish soap)
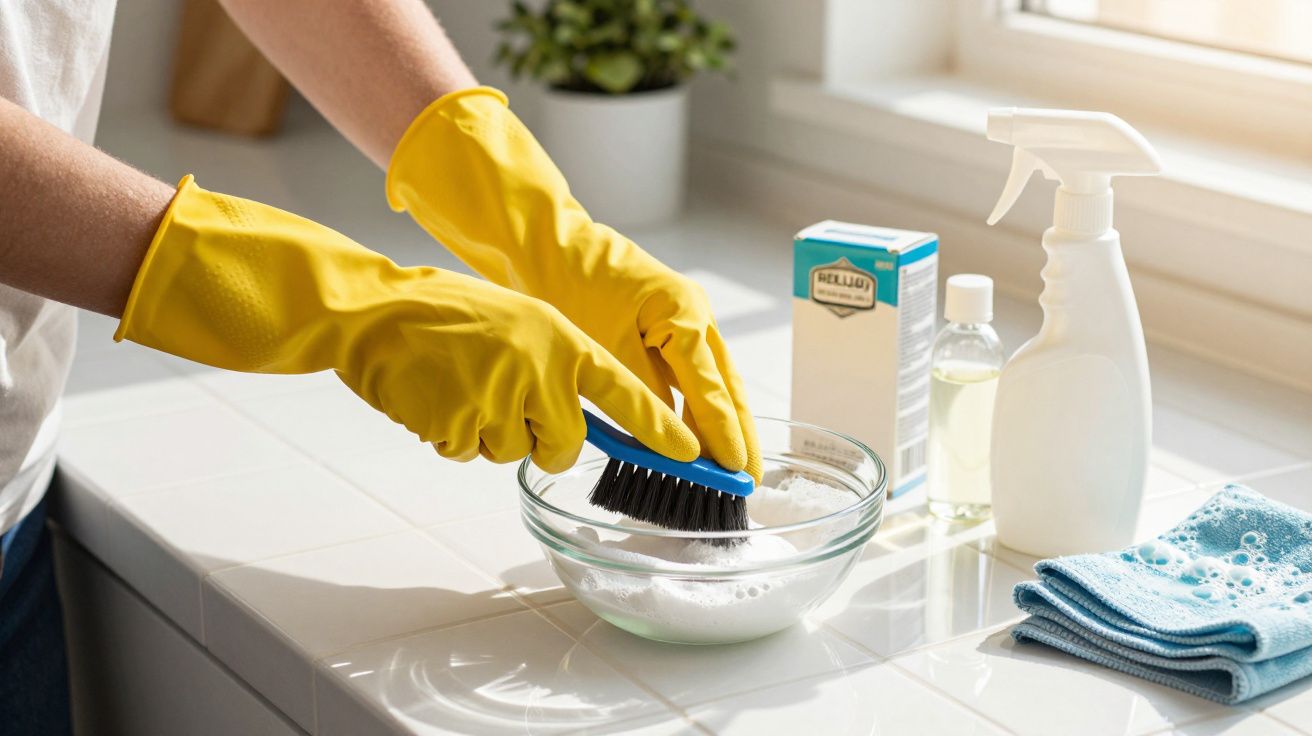
Let’s get specific. The mix that’s been quietly circulating in cleaning groups and WhatsApp chats is simple: baking soda, white vinegar, and a small splash of dish soap. Nothing rare. Most people already have all three in the kitchen.
Start by sprinkling baking soda directly onto the dry grout lines. No need for piles-just a thin, even layer. Then, in a small bowl, combine equal parts white vinegar and water, plus a tiny squeeze of dish soap. Pour or spray the liquid over the baking soda. It will begin to fizz gently.
That fizzing is working in your favor. Let it sit for around 10–15 minutes. While it does its job, you can scroll your phone, make coffee, or answer a couple of emails. Then take an old toothbrush or a small scrub brush, run it along the lines with light pressure, and wipe away the dirty foam using a damp cloth. The grout’s original shade starts showing again.
On a human level, this feels doable. No clearing your whole afternoon. No mask like you’re entering a lab. You can do one small zone at a time: the shower, the floor near the sink, or the kitchen backsplash behind the hob.
Another trap is going too hard, too fast. Metal brushes, sharp tools, and ultra-concentrated chemicals can feel efficient, but they slowly grind down grout. Over time it crumbles, cracks, and holds dirt even more. A quick win becomes a long-term problem.
Also, don’t rinse too early. The mixture needs a few minutes to break down the film hiding in those pores. Scrubbing immediately is like taking a cake out of the oven after five minutes. And realistically, nobody wants to repeat the whole job next weekend because they rushed it today.
“The first time I did it, I thought nothing was happening,” says Laura, 34, who used the mix on her kitchen floor. “Then I wiped the foam with a white cloth and nearly screamed. The cloth was brown. The grout went back to a light grey I hadn’t seen since we moved in.”
For quick reference, keep this list close the next time you look at your tiles and think “one day”:
- Sprinkle baking soda on dry grout lines.
- Mix equal parts white vinegar and water with a drop of dish soap.
- Pour or spray, then let it fizz for 10–15 minutes.
- Scrub gently with a toothbrush, then wipe with a damp cloth.
- Let it dry-and enjoy the original grout color again.
What changes when your grout finally looks new
Once the grout is clean, something surprising happens: the whole room looks brighter, without changing a single bulb or tile. Edges look sharper. The lines between tiles feel intentional again, not like old scars. Your eye glides across the floor instead of snagging on stains.
This small visual reset quietly affects your day. Morning showers feel a little less rushed and more like a ritual. Guests won’t say “Nice grout,” but they often comment on how “fresh” the bathroom feels. The detail they can’t quite name is exactly what you fixed.
On a psychological level, reclaiming these neglected corners changes how you relate to your home. It stops being just a place you sleep and becomes a space you actively shape. And that shift can start with one bowl, three ingredients, and 15 minutes of attention.
| Point clé | Détail | Intérêt pour le lecteur |
|---|---|---|
| 3‑ingredient mix | Baking soda, white vinegar, drop of dish soap | Solution simple, peu coûteuse, déjà disponible à la maison |
| Temps d’action | 10–15 minutes de pose avant léger brossage | Résultat rapide, compatible avec un emploi du temps chargé |
| Effet visuel | Grout éclairci, lignes nettes, pièce plus lumineuse | Impact immédiat sur la sensation de propreté et de confort |
FAQ :
- Can I use this mix on colored grout? Yes, but test a tiny hidden area first. Baking soda is gentle, yet vinegar’s mild bleaching effect can slowly brighten very dark or tinted grout over time.
- How often should I clean grout like this? For most people, once every 1–3 months is enough, with quick wipes in between. High-traffic areas like a shower floor may need it more often.
- Is this safe for all types of tiles? It’s generally effective on ceramic and most porcelain. Avoid vinegar on natural stone like marble or travertine, because acids can etch the surface.
- What if the stains don’t come off the first time? Repeat the process and give it a bit more dwell time. Older or deeper stains may need two or three rounds to brighten fully.
- Can this replace professional regrouting? Not if grout is cracked, missing, or crumbling. This method is best for dirty but structurally sound grout-if it’s damaged, professional repair is the safer choice.


Comentarios
Aún no hay comentarios. ¡Sé el primero!
Dejar un comentario