Morning light lands on the hardwood, and instead of the warm, glossy glow from the real-estate photos, you’re met with a tired, matte haze. Tiny scratches, dusty footprints, and that faint grey veil only visible when the sun is brutally honest.
You drag a finger across a plank and watch the clean line appear. You’ve already tried vinegar, “miracle” sprays, and you’ve stood in the aisle staring at pricey waxes, wondering whether they’re worth a Saturday on your knees.
Then a neighbour shares a small, oddly effective trick. Not vinegar, not wax-just something that’s probably already in your kitchen. That’s where it starts getting interesting.
Why your hardwood floor lost its shine in the first place
Most hardwood floors don’t suddenly “get old” overnight. They simply lose that crisp, glassy reflection over time. Layer upon layer of cleaner residue, microscopic dust, and oily footprints form an almost invisible film. Under lamps it’s easy to miss; in real daylight, it’s impossible to ignore.
We tend to blame the wood. Or the previous owners. Or the kids, the dog, and winter weather. But often it’s the routine itself that dulls the surface: the wrong mop, the wrong cleaner, or too much water. The shine didn’t vanish-it got buried.
On a small street in Leeds, a flooring contractor once told me he can “read” a household by how the boards reflect a window. Some floors are greyed out along traffic paths and clearer near the walls. Others show patchy shine where spot-cleaning left product rings behind. The wood ends up telling the story.
Professionals often repeat a quiet statistic: roughly 70% of calls about “damaged” hardwood are actually buildup issues. Not gouges, not deep scratches-just residue and mismatched products. A busy household mops, sprays, wipes, tries vinegar one week and a glossy cleaner the next, and those layers compound.
One family he visited had stopped inviting people over because they were embarrassed by their living room floor. They assumed sanding and refinishing were the only options. After two passes with the right gentle mix and a microfiber pad, the boards looked close to newly installed. Same wood. Same scratches. A totally different surface story.
When you understand what’s sitting on top of the finish, the situation flips. Most “all-purpose” products aren’t formulated for hardwood coatings. Vinegar solutions (popular on TikTok) can slowly etch certain finishes and leave a flatter, chalkier look. And wax-especially liquid, off-the-shelf types-can grab onto that residue and turn light into a blur instead of a reflection.
Your floor’s finish is essentially a thin, specific plastic shield. It prefers gentle pH, minimal water, and no heavy buildup. Once that shield gets clogged, it can’t bounce light cleanly. The wood underneath may still be beautiful-the film on top is what looks old.
So the real “trick” isn’t magic. It’s removing what doesn’t belong and then giving the finish just enough help to look alive again-without sanding or industrial machines.
The simple kitchen trick pros quietly use for hardwood floor shine
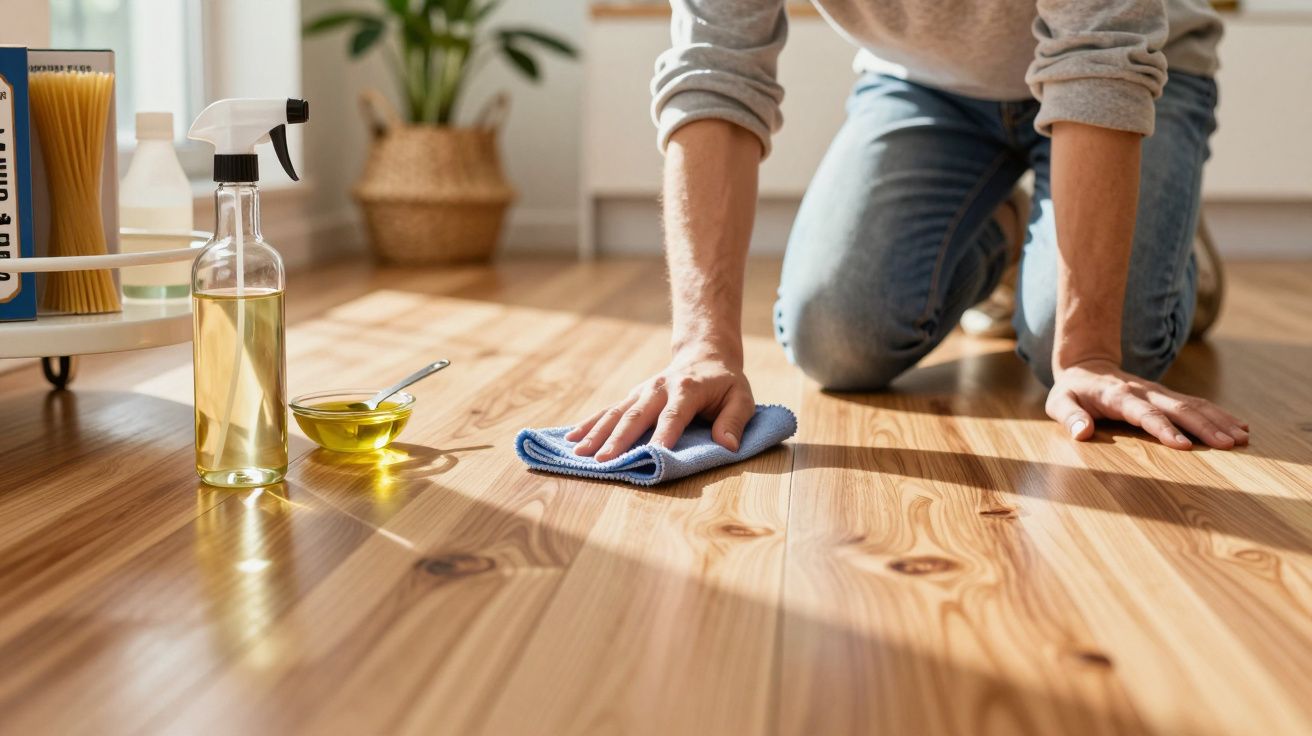
Here’s the twist: the shine-boosting ingredient isn’t vinegar and it isn’t wax. It’s a tiny amount of mild dish soap paired with a splash of rubbing alcohol, diluted in warm water, followed by the lightest touch of oil on a microfiber cloth.
That combination does two different jobs at once. The dish soap cuts greasy footprints and product buildup without attacking the finish. The alcohol helps dissolve old cleaner films and speeds evaporation, so you’re not soaking the boards-you’re cutting through grime quickly.
On many sealed hardwood floors, this alone reveals a brighter, clearer surface. Then, once the boards are fully clean and dry, an ultra-light buff with a neutral oil-like fractionated coconut or plain mineral oil-can “wake up” the reflection. It’s less about adding polish and more like giving your floor better lighting.
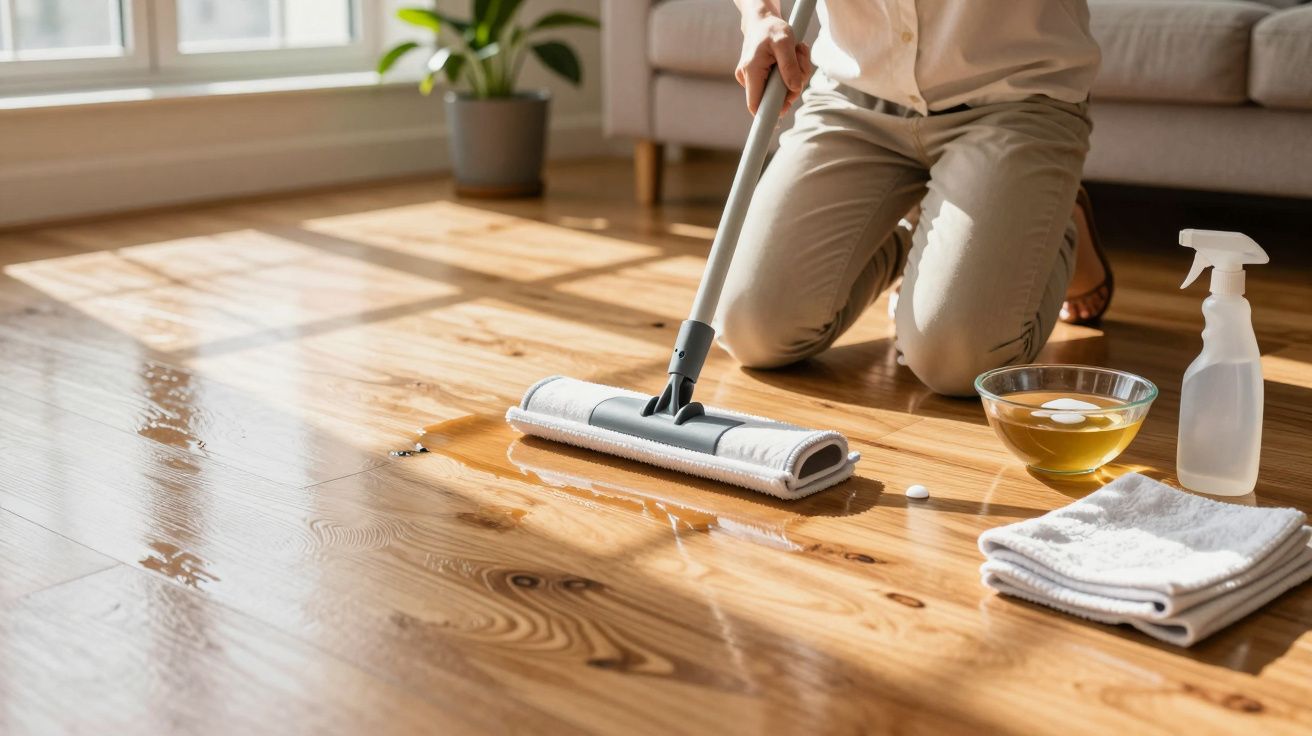
The method matters more than the recipe. Use a bucket or spray bottle with roughly 1 litre (about a quart) of warm water. Add just 3–4 small drops of mild, dye-free dish soap and 1–2 tablespoons of rubbing alcohol. That’s all. If it foams, you used too much.
Work in small zones. Lightly dampen a flat microfiber mop in the solution, wring it nearly dry, and glide with the grain. No heavy scrubbing and no puddles. Replace the solution when it turns cloudy. When a room is done, let it air-dry completely; the alcohol helps it dry faster.
This is the part no one likes to admit: Soyons honnêtes : personne ne fait vraiment ça tous les jours. And they don’t need to. A deeper reset every few weeks, plus quick dry-dusting between cleans, changes the entire look.
If you want to keep things truly finish-safe, it helps to check the basics before you start. Floor manufacturers like Bona and Bruce commonly warn against over-wetting and against leaving cleaner behind, which is exactly why a nearly-dry microfiber mop matters more than a stronger product. And if you’re unsure what finish you have, a quick call to a local flooring shop (or even a quote request from a refinisher) can confirm whether you’re dealing with polyurethane, wax, or oil-finished boards.
It’s also worth noting that for stubborn haze-especially in kitchens and entryways-some people get better results by pairing the routine with the right gear: a quality microfiber system from brands like O-Cedar or Rubbermaid, and a vacuum with a soft floor head (many homeowners use a Dyson soft roller attachment or similar). Tools won’t replace the method, but they make it easier to stay gentle and consistent.
Once the floor is completely dry and already looking clearer, you bring in the “wow” step. Lightly mist a clean microfiber cloth with a neutral oil-not olive oil and not anything that can go rancid. Think a teaspoon spread across an entire room, not a visible layer. Then buff by hand along the grain, especially in sunlit areas that show every flaw.
“The mistake people make,” a London maintenance tech told me, “is thinking shine comes from adding more stuff. On good hardwood, shine comes from removing the wrong stuff, then treating the remaining finish like skin. Clean, then a tiny bit of moisture.”
Here’s an easy way to remember the routine:
- Step 1: Dry dust or vacuum with a soft-brush head.
- Step 2: Mop with the dish soap + alcohol + warm water mix, nearly dry.
- Step 3: Let it dry fully-no stepping in socks “just for a second.”
- Step 4: Buff in a trace of neutral oil with a microfiber cloth.
- Step 5: Repeat the full routine only when the floor starts to look cloudy again.
One last mindset shift: this isn’t about perfection. On a rainy Thursday, you might only do the hallway. On Sunday, you might finally tackle the living room. On a good day, the dog will slide across the boards like a cartoon character and you’ll realize you did something right.
What that new shine really changes at home
On a practical level, this trick quietly helps your finish last longer. Cleaner boards need less aggressive scrubbing. Less scrubbing means fewer micro-scratches and fewer places where moisture can sneak into the wood. You’re extending the time between costly refinishing jobs by treating each clean as maintenance, not damage control.
When the wood starts to glow again, the whole room reads differently-almost like it’s been repainted. Wall colours feel warmer, rugs look richer, and the floor stops feeling like background. It becomes part of the atmosphere you walk into after work.
On a psychological level, the shift is subtle but real. A bright, clean, lightly reflective surface signals “cared-for” in a way no candle can fake. Guests may not say, “Wow, your floors,” but they’ll comment that the space feels “calm” or “fresh.” On a screen, that’s what makes people stop scrolling.
And on a human level, something softer happens. You catch a hint of your reflection as you walk in with grocery bags. You sit on the floor with a coffee, your phone charging across the room, and you notice how the grain curves under your hand. Online it’s just a “before and after.” In your actual home, it’s an invitation to live there differently.
| Point clé | Détail | Intérêt pour le lecteur |
|---|---|---|
| Mélange nettoyant maison | Eau tiède + quelques gouttes de liquide vaisselle doux + petite dose d’alcool ménager | Protège le vernis tout en retirant les résidus ternes |
| Utilisation du bon matériel | Mop en microfibre légèrement humide, pas de serpillère détrempée ni de brosse dure | Réduit les micro-rayures et garde le sol net plus longtemps |
| Finition à l’huile neutre | Voile ultra-fin de minéral ou coco fractionné, buffé à la main | Rend la brillance plus profonde, sans couche grasse ni traces |
FAQ :
- Can I use this trick on all hardwood floors?
It works best on sealed or finished hardwood (polyurethane, factory-finished planks). For oiled or waxed floors, skip the alcohol and only do a very mild soap step-or check with the floor manufacturer.- Isn’t vinegar safer and more natural?
Vinegar is natural, but the acidity can slowly dull certain finishes and weaken some sealants. The ultra-diluted dish soap + alcohol mix is gentler on many modern coatings and evaporates cleaner.- How often should I do the full routine?
In a busy home, every 2–4 weeks is usually enough. In between, dry-dust with a microfiber mop or a soft vacuum head so grit doesn’t scratch the surface.- What kind of dish soap and oil should I choose?
Choose a clear, dye-free, fragrance-light dish soap labeled mild. For the oil, use mineral oil or fractionated coconut oil-avoid food oils that can get sticky or attract odours.- What if my floor still looks dull after trying this?
If the shine doesn’t come back, the finish may be worn through or heavily scratched. A professional deep clean or refinishing could be next-but at least you’ll know you tried the gentlest home route first.


Comentarios
Aún no hay comentarios. ¡Sé el primero!
Dejar un comentario